- 9 Sections
- 46 Lessons
- Lifetime
- Lesson 1 - Getting StartedBeing successful with any computer program requires that you get familiar with its environment. This is especially true with the Office 2016 through 365 versions. The sooner you master the different parts of the program, the sooner you will master Word!8
- Lesson 2 - Modifying A DocumentThere will be many times that you will want to modify an existing document. For example, you may want to add or remove information or move things around in a document that was sent to you as an Email attachment. In this module you will learn how to easily modify text in an existing document.6
- Lesson 3 - FormattingFormatting refers to adding enhancements to your text and page to "pretty" up your document. This makes the information on your pages much easier to follow and makes it more presentable. For example, you may want to make certain titles bold or italic so they stand out. Keep in mind when formatting that all text selected will be affected when you activate a formatting command.8
- Lesson 4 - Inserting IllustrationsIt is often said that, "a picture is worth a thousand words". In Word, you can easily drop in illustrations to liven up your document or to better present your information. The type of illustrations you can drop into a document are: Pictures - Images stored on a drive (e.g., uploaded from a camera or found online). Shapes - Ready made shapes (e.g., lines, rectangles or circles). SmartArt - Images used to communicate information (e.g., flow or organizational charts). Charts - Images to illustrate and compare numeric data.4
- Lesson 5 - TablesTables are used to organize text and numbers into rows and columns so the information being presented is easier to follow. One problem in all versions of Word is that they use what are called "True Fonts". In True Fonts, different characters are different widths. For example, an "O" is wider than an "I". If you use these characters in different rows and try to line things up to the right in each row using spaces to create columns, the columns come out jagged (not lined up). This can be very frustrating. Tables are a great solution to get around this. Tables can also be used to do simple calculations and create forms and complex page layouts.3
- Lesson 6 - PrintingPrinting allows you to get a hard copy of your document. Word offers you three main options for printing. The three main options to print are: 1. File-Print. 2. Ctrl+P on the keyboard. 3. Clicking on the Print Preview and Print icon on the Quick Access Toolbar (must be added).6
- Lesson 7 – ReferencesWord reference tools are resources that help you apply and find information.4
- Lesson 8 – Advanced FeaturesAdvanced Word Features7
- Word ChallengeQuiz To Test Your Word Knowledge1
S0020O- 7D. Table Of Contents
A Table of Contents (TOC) is a generated list that displays all the major headings within a document, along with their corresponding page numbers, essentially acting as a navigation tool to quickly jump to different sections of the document. It is created by applying heading styles (e.g., Heading1, Heading 2, etc.) to your document titles.
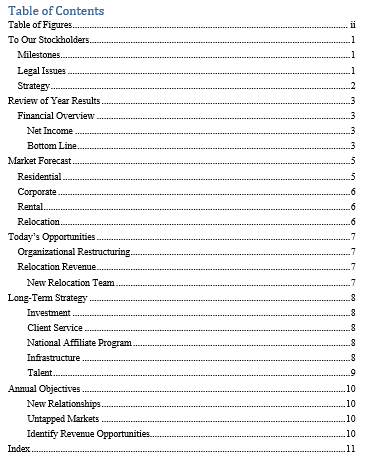
Table Of Contents Example
To create a TOC:
- Place the cursor where the Table of Contents should appear.
- Click Table of Contents in the Table of Contents group of the References tab of the Ribbon.
- Choose an automatic style and the TOC drops in using the Heading styles by default.
- To create a custom TOC, click Custom Table of Contents. The Table of Contents dialog box opens up. Click Options to select which styles to use in building your TOC. Use a number in the TOC level option. No number means to ignore that Style in the TOC. The number determines the TOC level. A 1 is the most outdented level. A 2 is the first indent level. A 3 is the next level indent, etc. Click OK to close the dialog box.
If you make changes to your document that affect the table of contents, update the table of contents by clicking the table of contents and clicking Update Field on the TOC tab that appears at the top of the TOC. You can also click on the TOC and press the F9 key on the keyboard.
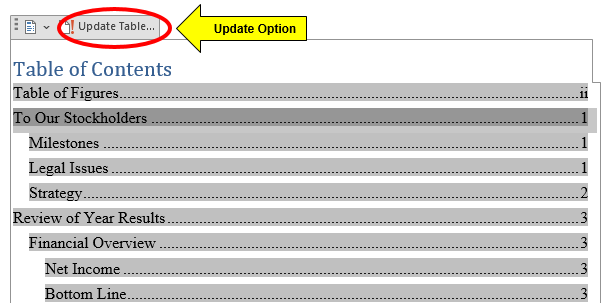
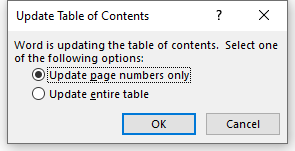
Table Of Contents Update Option
When you use the TOC update option, you will get the Update Table of Contents dialog box. Select which update option you want to use and click OK.
Update Table of Contents dialog box
Exercise 1
Video Demo 1 – How to create a Table of Contents.
EXERCISE 1 DIRECTIONS
Open Exercise 7D if you have not yet done so. Go to page 1 and click on To Our Stockholders. On the Home tab of the Ribbon, notice the style is Heading 1. Click on Milestones. The style is Heading 2. By default, these will be used in the TOC. Heading 1 as a main topic and Heading 2 as a subtopic.
Go to the blank page after the title page. Place the cursor where the Table of Contents should appear. Click Table of Contents in the Table of Contents group of the References tab of the Ribbon. Select the second automatic style. The TOC drops in using the Heading styles by default.
To update the TOC, click the table of contents and click Update Field on the TOC tab that appears at the top of the TOC. When t the Update Table of Contents dialog box comes up, select Update entire table and click OK.